
Project Planner
Introduction
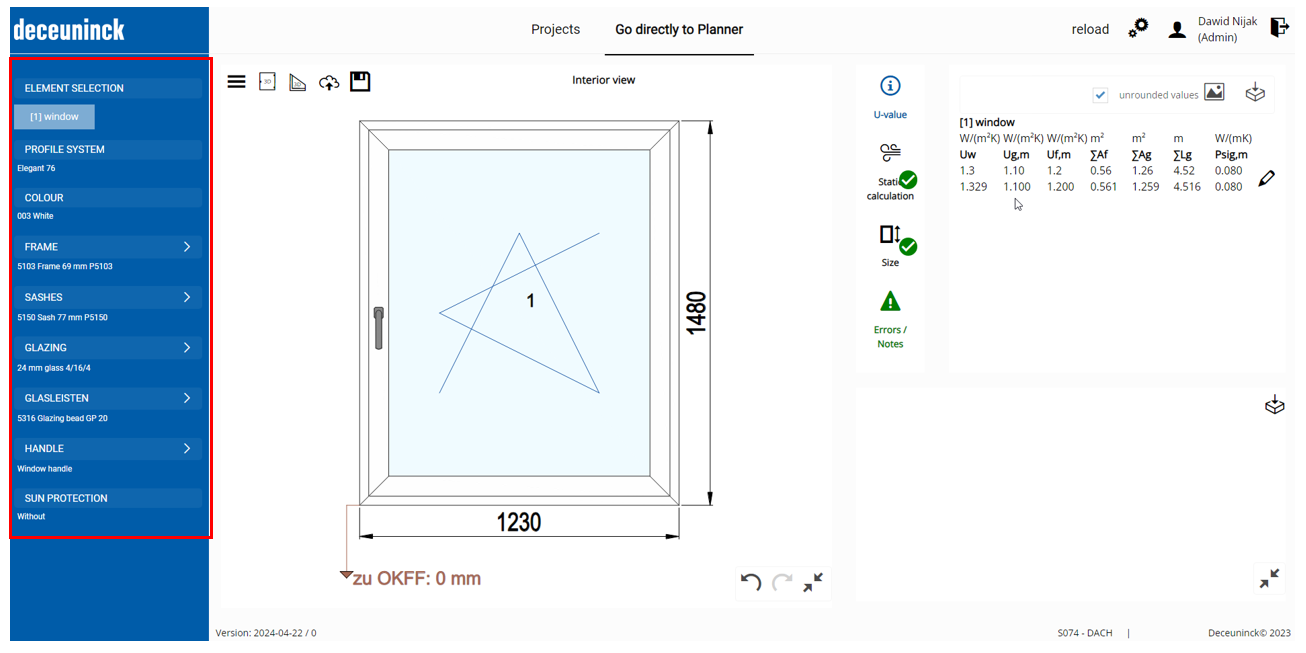
This is the step-by-step guide for using the projectplanner. Below are the 9 steps of the menu explained in short. For more detail click the read more button under each step.
it was already chosen in the step “Element selection” – Window. But if needed, you can still change it now. For the example purpose, we will keep it with “Window” element.
Here you can choose the system you want to work with, including additional options, such as aluminum claddings, glazing bead connection types, etc – depending on the availability for specific system.
In this menu, you can define the profile color, base body color and sealing color.
By clicking on menu “Frame” – the pop up will appear where you can choose settings for the whole element.